Repairing damaged window trim is important because it prevents moisture from seeping in and causing larger issues like rot and mold. If you ignore small signs of damage, you might end up facing costly repairs later. Regular inspections help you catch problems early, extending the lifespan of your trim. Plus, well-maintained trim boosts your home’s appearance and energy efficiency. Taking timely action not only safeguards your investment but also guarantees a beautiful aesthetic. Curious about how to tackle these repairs effectively? There’s plenty more essential information to help you get started on the right foot.
Assessing Window Trim Damage
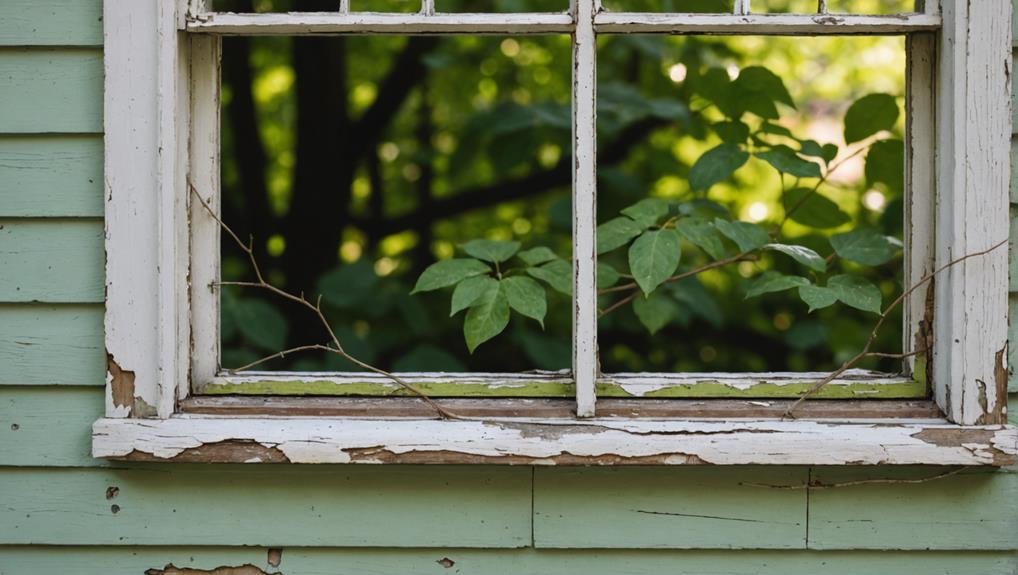
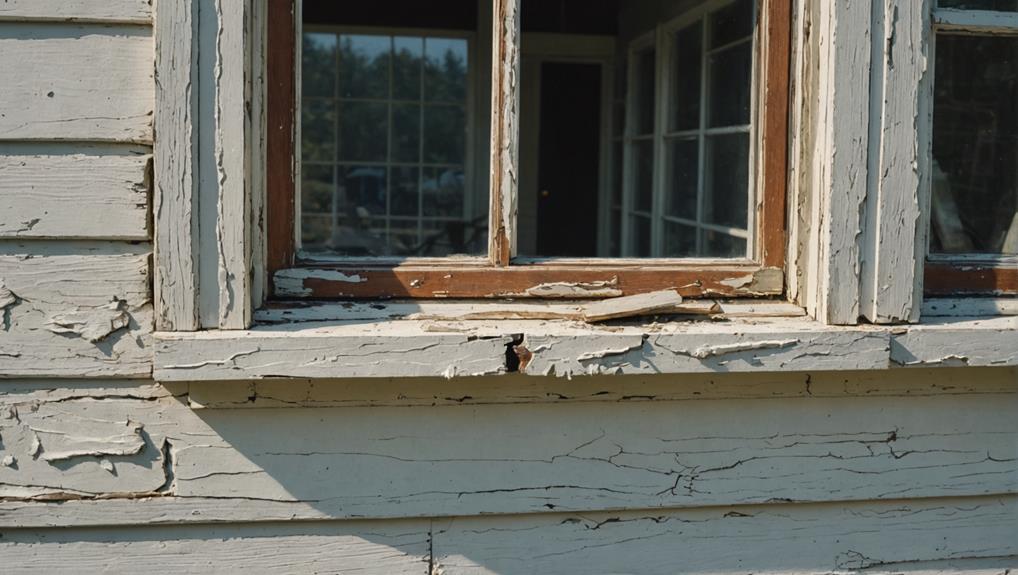
To effectively assess window trim damage, you should closely examine the trim for signs of rot, cracks, or peeling paint. Start by checking the corners and joints, as these areas are particularly vulnerable to moisture. If you notice any soft spots, it might indicate rot, which can spread if not addressed promptly. Cracks can allow water to seep in, leading to further deterioration, while peeling paint can signal that the protective layer has worn away.
These common window issues not only affect the appearance of your home but can also lead to more serious problems down the line, such as mold or structural damage. By identifying these issues early, you can take advantage of the trim repair benefits.
Repairing damaged trim not only enhances your home’s curb appeal but also helps maintain its structural integrity. It can save you money on more extensive repairs in the future and improve energy efficiency by preventing drafts.
Tools Needed for Repair
Having the right tools on hand is crucial for effectively repairing damaged window trim. First, gather basic carpentry tools like a hammer, tape measure, and level. A good utility knife will help you make precise cuts, while a chisel is perfect for removing any damaged wood. You’ll also need sandpaper for smoothing surfaces after you’ve made repairs.
For more advanced repair techniques, consider having a miter saw on standby. It allows you to make accurate angled cuts, especially if you’re replacing trim pieces. A nail gun can speed up the installation process, giving you a cleaner finish than using a hammer and nails.
Don’t forget about your materials. Depending on your project, you may need wood filler or caulk for smaller gaps and imperfections. When it comes to material selection, choose the right type of wood that matches your existing trim to guarantee a seamless look.
Lastly, keep a paintbrush and some touch-up paint ready for the finishing touches. With these tools, you’ll be prepared to tackle any window trim repair with confidence and efficiency.
Safety Precautions to Consider

Prioritizing safety is essential when repairing damaged window trim to prevent accidents and injuries. Before you start, make certain you have the right safety gear.
Wear safety glasses to protect your eyes from debris and dust, and use gloves to shield your hands from sharp edges and splinters. If you’re working with power tools, ear protection is also a smart choice.
Familiarize yourself with the repair techniques you’ll be using. Knowing how to handle tools properly minimizes the risk of accidents. For instance, always keep your fingers clear of cutting paths and maintain a firm grip on any tools.
If you’re using a ladder, make sure it’s stable and positioned on level ground to avoid falls.
Take breaks to assess your work area and make certain it’s free of clutter. A tidy workspace reduces the chances of tripping or knocking over tools.
If you’re feeling tired or distracted, it’s best to pause and continue when you’re more focused. By observing these safety precautions, you’ll create a safer environment, allowing you to concentrate on your repair work effectively.
Removing Damaged Trim
Before you start removing damaged trim, you need to assess its condition carefully.
Knowing what tools you’ll need for the job can make the process smoother and more efficient.
Let’s explore how to identify the extent of the damage and gather the right equipment for removal.
Assessing Trim Condition
To assess the condition of your window trim, start by carefully inspecting it for signs of damage, such as cracks, rot, or peeling paint. Look closely at the corners and joints, where moisture often accumulates, compromising trim durability. If you notice soft spots or areas that crumble easily, that’s a clear indication that your trim may need replacement.
Next, check for any warping or misalignment. These issues can detract from the aesthetic appeal of your home and might signal underlying problems. If the trim is severely damaged, it can impact not just the appearance but also the effectiveness of your window seals, leading to potential energy loss.
Don’t forget to evaluate the paint condition. Faded or peeling paint not only looks unsightly but can also expose the wood to moisture, further diminishing its durability. If you find multiple signs of damage, it’s time to contemplate removing the affected trim.
Tools for Removal
Once you’ve assessed the damage and decided to remove the affected trim, gathering the right tools is key to making the process efficient and effective.
Start with a utility knife to cut through any paint or caulk sealing the trim against the wall. This’ll help prevent splintering and damage to the surrounding area.
Next, grab a pry bar or a trim puller. These tools are essential for using effective removal techniques without causing unnecessary harm to the wall or window frame. If you’re dealing with different trim styles, you might also want a hammer and a block of wood to gently tap the pry bar in place, ensuring you get a clean removal.
Don’t forget safety goggles and gloves to protect yourself during the process. Depending on how the trim was installed, you might also need a drill or screwdriver to remove any fasteners.
Having these tools on hand can make your trim removal project smoother and faster, allowing you to focus on replacing or repairing the damaged sections efficiently.
Preparing the Area for Repair
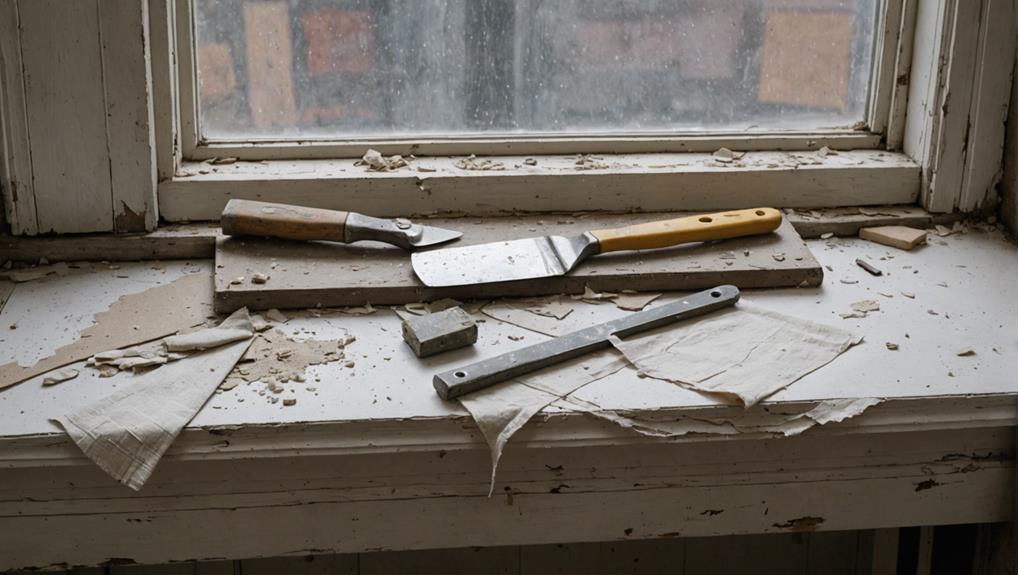
Before you start the repair, clear the workspace to create a safe and organized environment.
Next, gather all the necessary tools so you’re ready to tackle the project efficiently.
Clear the Workspace
Clearing the workspace guarantees you have enough room to work efficiently and prevents accidental damage to surrounding areas. Start by removing any furniture, decorations, or items that might obstruct your movement or get damaged during the repair. This is key for effective workspace organization.
Next, focus on clutter management. Gather all unnecessary items and put them in a separate area or discard them. A tidy workspace not only enhances your focus but also minimizes the risk of accidents. You don’t want to trip over tools or materials while trying to make those essential repairs.
If you’re working indoors, consider covering the floors and nearby surfaces with drop cloths to protect them from dust or debris. This simple step helps in maintaining a clean environment, allowing you to concentrate solely on the repair task at hand.
Lastly, ascertain you have a clear path for entering and exiting the workspace. You want to avoid any potential hazards. By taking the time to prepare your area, you set yourself up for a smoother, more efficient repair process.
Gather Necessary Tools
With your workspace clear and organized, it’s time to gather the necessary tools for repairing the damaged window trim. Having the right tool types on hand will make your job much easier and more efficient. Here are three vital tools you’ll need:
- Chisel – A sharp chisel helps you remove damaged wood cleanly, making sure a smooth surface for repair.
- Hammer – A reliable hammer is essential for driving nails and securing your new trim pieces.
- Screwdriver – Whether it’s a flathead or Phillips, a good screwdriver will assist you in removing any old hardware.
Before you start, verify your tools are in good condition, as proper tool care can greatly impact your project’s outcome. Check for rust, sharpen edges, and clean off any debris.
Remember, using well-maintained tools not only enhances efficiency but also keeps you safe during repairs. By gathering these essentials, you’re setting yourself up for success in restoring your window trim.
Now, you’re ready to tackle the project with confidence, knowing you have everything you need at your fingertips.
Assess Damage Extent
Start by examining the window trim closely to determine the extent of the damage and identify any areas that need immediate attention. Look for common damage indicators such as cracks, peeling paint, or signs of rot. These can signal underlying issues that require prompt repair.
Use assessment techniques like tapping on the trim to check for hollow sounds, which might indicate wood damage. A moisture meter can also help you gauge the level of dampness in the wood. If you find any soft spots, poke them gently with a screwdriver; if it easily penetrates, you’ve likely got rot.
Document your findings as you assess the damage. Take notes and photos of affected areas to help you prioritize repairs. This will give you a clear picture of what needs fixing and help you plan your next steps effectively. Remember, catching damage early can save you time and money in the long run.
Once you’ve assessed the extent of the damage, you’ll be better equipped to decide whether to repair or replace the trim. This initial evaluation is vital for ensuring a successful repair process.
Selecting Replacement Materials
When selecting replacement materials for window trim, consider factors like durability, aesthetics, and compatibility with your home’s style. You want materials that not only look good but can also withstand the elements.
Here are three key considerations to guide your choice:
- Material Durability: Choose materials that can endure moisture, temperature fluctuations, and UV exposure. Options like PVC or composite materials often outperform traditional wood in these areas.
- Aesthetic Considerations: Think about how the trim will complement your home’s architectural style. Whether you’re aiming for a classic, modern, or rustic look, your material should enhance your home’s overall appearance.
- Maintenance Requirements: Some materials require more upkeep than others. Low-maintenance options can save you time and money in the long run, allowing you to enjoy your home’s beauty without constant repairs.
Installing New Window Trim
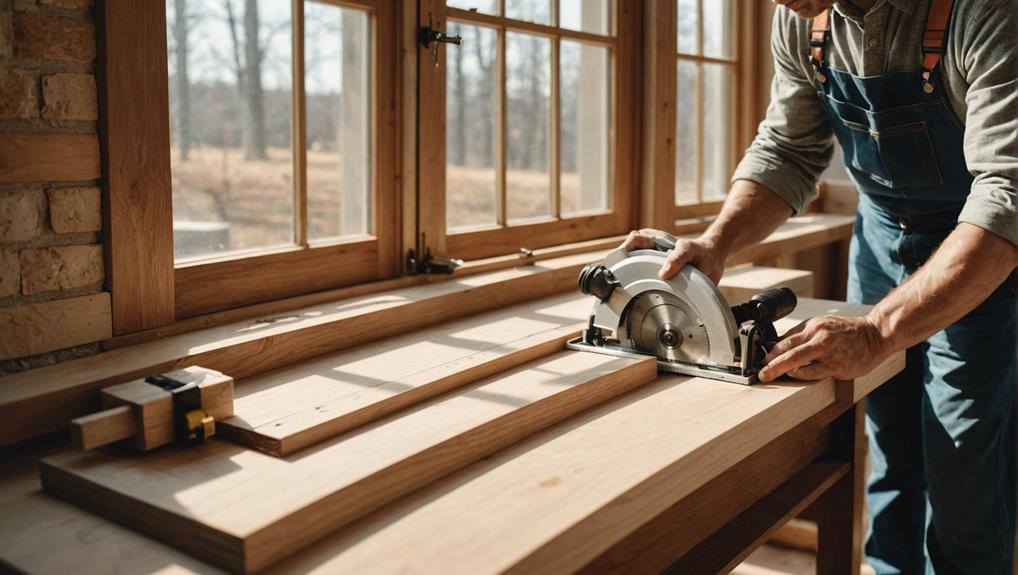
Installing new window trim involves careful measurements and precise cuts to guarantee a perfect fit and a polished look. Start by measuring the height and width of your window frame, accounting for the type of trim styles you’ve selected. Whether you prefer a modern or traditional look, it’s essential to choose trim that complements your home’s design.
Next, mark your measurements on the trim material. Use a miter saw for angled cuts, especially for corners, ensuring each piece fits snugly. When working with different trim styles, be mindful of their unique characteristics; for example, casing trim often requires different angles than flat stock.
Once you’ve cut the pieces, use appropriate installation techniques. Begin with the bottom piece, securing it with finishing nails. Then, move to the sides and finally the top, making sure everything aligns properly. Check for level and adjust as needed.
Sealing and Finishing Touches
Once you’ve installed your new window trim, sealing it properly is essential to protect against moisture and damage.
Choosing the right finish not only enhances the look but also adds durability to your work.
Don’t forget that regular maintenance will guarantee your trim stays in great shape for years to come.
Importance of Proper Sealing
Proper sealing is essential for protecting your window trim from moisture and guaranteeing its longevity.
When you seal your trim correctly, you’re not just preventing water damage; you’re also enhancing your home’s overall appearance. Understanding the proper sealing benefits can save you from costly repairs down the line.
Here are three key reasons to prioritize sealing:
- Prevents Rot and Decay: Moisture can lead to wood rot, which compromises the integrity of your trim and can spread to your home’s structure.
- Improves Energy Efficiency: Properly sealed trim helps maintain your home’s temperature, reducing energy costs and increasing comfort.
- Aesthetic Appeal: A well-sealed trim looks polished and attractive, boosting your home’s curb appeal.
When considering sealing materials comparison, you’ll find that options like caulk and paint offer varying levels of waterproofing and durability.
Investing in high-quality sealing products guarantees your window trim remains protected against the elements.
Choosing the Right Finish
Choosing the right finish for your window trim not only enhances its appearance but also provides an additional layer of protection against the elements. You have several finish types to choose from, each offering unique benefits.
For instance, paint creates a vibrant look while allowing for easy color matching with your home’s overall aesthetic. If you prefer a more natural finish, stains can enrich the wood’s grain and provide a warm, inviting feel.
When selecting a finish, consider how it interacts with your trim’s material. For wood, a polyurethane or varnish can offer durability and water resistance. If your trim is made of PVC or composite materials, specialized finishes designed for these surfaces will work best.
Don’t forget about the environment; some finishes are more eco-friendly than others. Additionally, think about the maintenance required for each option. A well-chosen finish not only beautifies your window trim but also extends its lifespan, ensuring that your hard work pays off in the long run.
Maintenance for Longevity
To keep your window trim looking fresh and extend its lifespan, regularly sealing it and adding finishing touches is crucial. Implementing these preventive measures not only enhances your home’s aesthetic but also guarantees trim longevity.
Here are three key actions you can take:
- Inspect and Clean: Regularly check for dirt, dust, and any signs of damage. A clean surface allows for better sealing and prevents moisture buildup.
- Seal Properly: Use a high-quality sealant to protect the wood from the elements. This acts as a barrier against moisture, which can lead to rotting or warping.
- Reapply Finish: Don’t forget to refresh the finish every few years. A new coat of paint or stain not only revives the look but also adds an extra layer of protection.
Painting and Staining Options
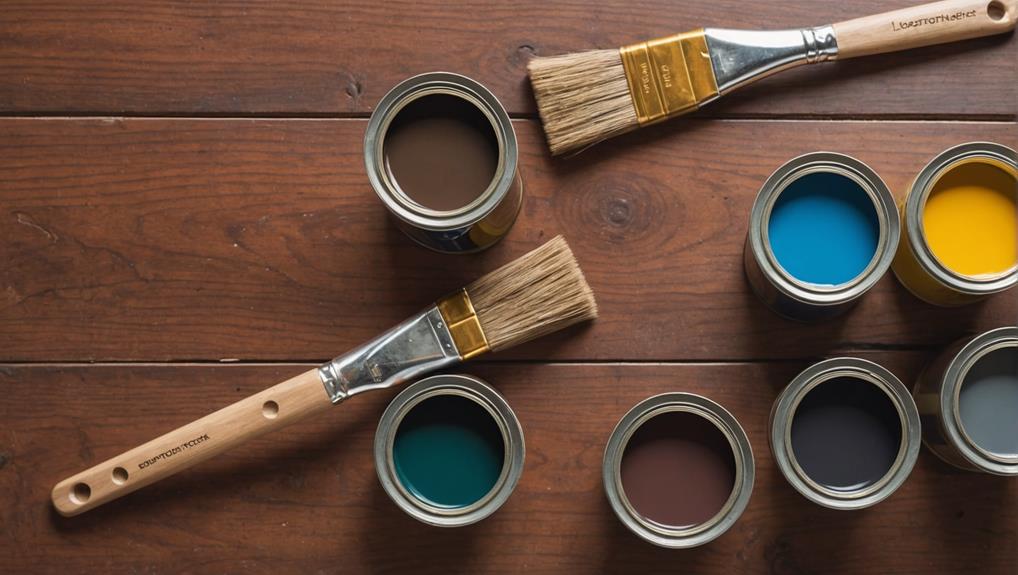
When it comes to painting or staining your repaired window trim, selecting the right finish can elevate its appearance and protect it from the elements. You’ve got a variety of finish types to choose from, each offering unique benefits.
For a classic look, consider using a high-quality paint. It not only provides a clean, vibrant finish but also offers excellent protection against moisture and UV rays.
If you prefer a more natural appearance, staining is a great option. It allows the wood grain to shine through while adding color and depth. When opting for stain, make sure you choose a product with a protective sealant to enhance durability.
Color selection is essential, too. Think about your home’s overall aesthetic and choose shades that complement your existing palette. Lighter colors can make a space feel larger, while darker hues can add sophistication.
Don’t forget to test a few samples before making your final decision. This way, you can see how the finish looks in different lighting conditions.
Ultimately, the right paint or stain won’t only beautify your window trim but also extend its life.
Regular Maintenance Tips
Keeping your window trim in top shape requires regular maintenance to prevent damage and prolong its life. By following a few simple tips, you can guarantee your trim stays beautiful and functional for years to come. Here are three essential preventive measures you should implement:
- Conduct Seasonal Inspections: Take a moment each season to inspect your window trim. Look for signs of wear, rot, or mold. Early detection can save you from costly repairs later.
- Clean Regularly: Dust, dirt, and grime can accumulate on your trim. A gentle wash with soap and water every few months will keep it looking fresh and prevent buildup that can lead to deterioration.
- Reapply Finish: If you’ve painted or stained your trim, check the finish periodically. Reapply paint or stain as needed to protect against moisture and UV damage.

Leave a Reply