Table of Contents
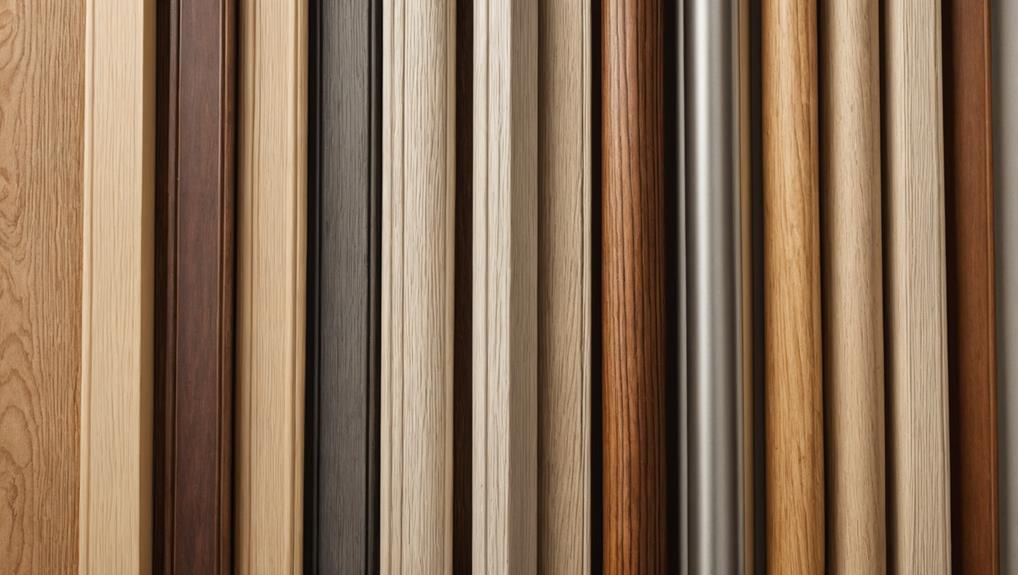
When selecting the best materials for window trim, you have several excellent options to consider. Wood brings a classic beauty to your home, but it does require regular maintenance to prevent rot. On the other hand, vinyl is both durable and low-maintenance, making it a popular choice among homeowners.
Aluminum offers long-lasting durability and is resistant to pests, while composite materials combine the benefits of wood and vinyl, providing excellent moisture resistance. Fiber cement can mimic the appearance of wood but is highly durable and weather-resistant. Each material comes with its own set of advantages and disadvantages, so it’s essential to think about your home’s style and the climate in your area.
To ensure your trim looks its best, be sure to explore additional tips for maintenance and repair.
Wood Trim Maintenance Tips
To keep your wood trim looking its best, regular maintenance is essential. Different wood types, such as pine, oak, and cherry, each require specific care to guarantee longevity.
Start by dusting your trim weekly to remove dirt and debris. For deeper cleaning, use a damp cloth with a gentle soap solution, avoiding harsh chemicals that can damage the finish.
Check your trim styles for any signs of wear, such as scratches or peeling paint. Minor scratches can often be repaired with wood filler, while more extensive damage may require sanding and refinishing. If your trim has a protective finish, inspect it regularly and reapply as needed to maintain its luster and protection against moisture.
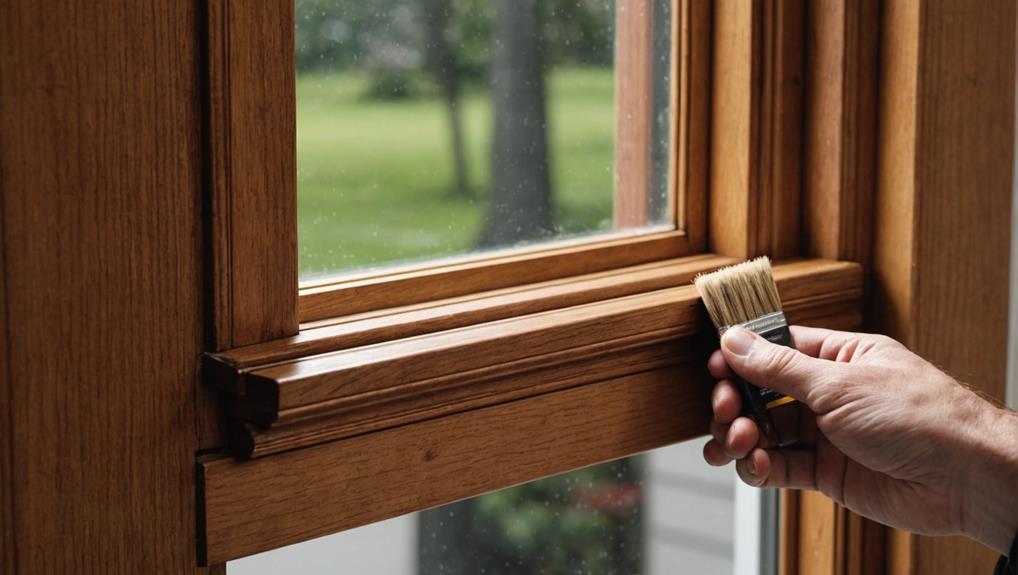
When it comes to painting or staining, choose high-quality products designed for wood, as they’ll provide better durability and a more polished appearance. Also, be mindful of the environment; temperature and humidity can affect wood stability.
Vinyl Trim Care Guidelines
Vinyl trim requires minimal maintenance, making it a popular choice for homeowners seeking durability and ease of care. To keep your vinyl trim looking great, start by regularly cleaning it with a mild soap solution and a soft cloth. This simple step helps remove dirt, dust, and grime that can accumulate over time.
When it comes to vinyl durability factors, remember that exposure to harsh weather conditions can affect its longevity. While vinyl is designed to withstand various elements, you should inspect your trim periodically for any signs of wear or fading.
If you notice discoloration, don’t worry; most vinyl color options are designed to resist fading. However, if you want to refresh the look, you might explore paint specifically formulated for vinyl surfaces.
Avoid using abrasive cleaners or tools, as these can scratch the surface and compromise its appearance. Additionally, steer clear of power washing, which can damage the trim.
Aluminum Trim Best Practices

When choosing aluminum trim for your windows, it’s vital to understand its unique maintenance requirements to guarantee long-lasting performance and aesthetic appeal. One of the primary aluminum advantages is its durability and resistance to weathering, which means it doesn’t warp or rot like wood.
However, to keep it looking its best, regular cleaning is essential. Use a mild detergent and water to remove dirt and grime, making sure that you rinse thoroughly to avoid residue buildup.
During aluminum installation, make certain proper sealing to prevent moisture infiltration, which can lead to corrosion over time. Select high-quality fasteners compatible with aluminum to avoid galvanic corrosion.
For added protection, consider applying a coat of paint or powder coating, which can enhance both the look and lifespan of the trim.
It’s also wise to inspect your aluminum trim periodically for signs of damage or wear. Catching minor issues early can save you from costly repairs down the line.
Composite Trim Inspection Methods
Inspecting composite trim regularly helps confirm its longevity and performance, much like maintaining aluminum trim. You should start by checking for any visible signs of damage, such as cracks, warping, or fading. These issues can compromise the composite trim’s durability and may require immediate attention to prevent further deterioration.
During your inspection, pay close attention to the seams where the trim meets the walls or windows. Verify that the installation is tight and secure; gaps can allow moisture to seep in, leading to mold or rot over time. If you notice any loose sections, reattach them if possible, or consider professional help for a proper fix.
It’s also wise to examine the caulking around the trim. Over time, caulk can wear away, leading to potential leaks. Reapplying caulk helps maintain the integrity of the composite trim installation.
Lastly, make certain to clean the trim regularly. A simple wash with soap and water can help remove dirt and grime, keeping your trim looking great.
Painting and Finishing Techniques
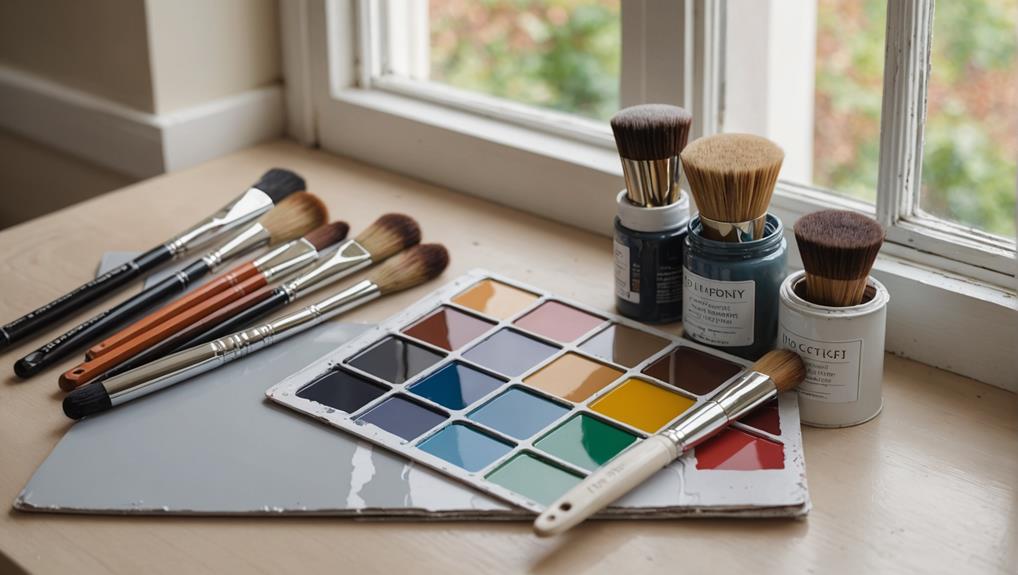
Choosing the right painting and finishing techniques can greatly enhance the appearance and longevity of your window trim. Start by selecting high-quality paint that suits your trim material—acrylic latex works well for wood, while oil-based paints are better for composite materials.
When applying paint, consider using different painting techniques, such as brushing, rolling, or spraying, depending on the look you want to achieve. Brushing offers control, rolling provides a smooth finish, and spraying can cover large areas quickly.
Before you paint, verify the surface is clean, dry, and primed if necessary. This step helps the paint adhere better and improves durability. You might also want to sand the trim lightly to create a smooth surface for the paint to cling to.
After painting, think about your finishing options. A clear sealant can add extra protection and enhance the color. You might choose a satin or semi-gloss finish to give your trim a polished look while providing some water resistance.
Weatherproofing Window Trim
Weatherproofing your window trim is vital to protect it from moisture and prevent damage over time. To achieve this, you’ll want to choose the right sealant options and insulation materials.
Start by selecting a high-quality sealant that’s designed for exterior use. Look for products that are waterproof and mold-resistant to provide long-lasting protection. Silicone and polyurethane sealants are popular choices, as they offer excellent adhesion and flexibility.
Next, consider the insulation materials you’ll use around your window trim. Using foam insulation or weather stripping can help create a tight seal, reducing drafts and improving energy efficiency. Make certain to fill any gaps between the trim and the wall, as these are common areas for moisture intrusion.
After applying your sealant, confirm it cures properly according to the manufacturer’s instructions. This step is vital for peak performance.
Regularly inspect your window trim for any signs of wear or damage, and address issues promptly to maintain its weatherproofing. By taking these steps, you’ll safeguard your window trim against the elements, confirming it looks good and functions effectively for years to come.
Repairing Damaged Trim
When it comes to repairing damaged trim, you need to identify the common types of damage first.
Once you’ve pinpointed the issue, you can use effective repair techniques to restore its appearance and function.
Let’s explore these damage types and the best ways to fix them.
Common Damage Types
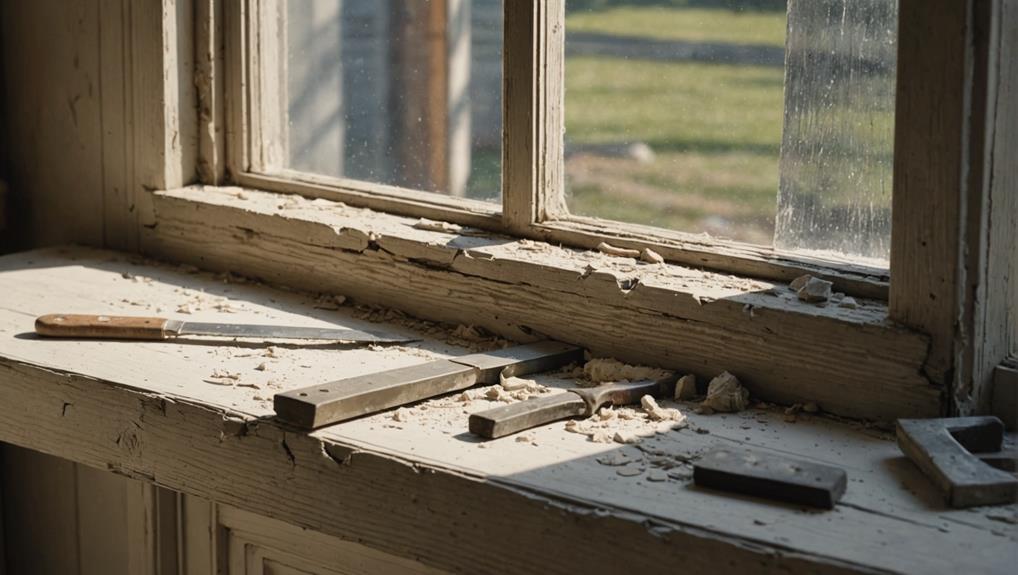
Damage to window trim can stem from a variety of sources, including moisture, pests, and physical impacts, making timely repairs vital for maintaining both aesthetics and functionality.
One common issue you might encounter is water damage, which typically results from leaks or high humidity. This can cause the wood to warp, swell, or even rot over time. If you notice discoloration or peeling paint, it’s likely water is getting in, and you should address it promptly.
Another concern is insect infestations. Termites and carpenter ants can wreak havoc on your trim, causing significant structural damage. If you see small holes or frass (insect droppings), it’s a clear sign that pests are at work. Ignoring these signs can lead to costly repairs down the line.
Physical impacts, like bumps and scratches from furniture or pets, can also mar your trim’s appearance. While these may seem minor, over time, they can accumulate, making your window trim look worn and unattractive.
Addressing these common damage types early can save you time, money, and effort in the long run. Keep an eye out for these issues to guarantee your window trim remains in top shape.
Effective Repair Techniques
To keep your window trim looking its best, knowing effective repair techniques is key to addressing issues like water damage, pest infestations, and physical wear.
Start by identifying the type of trim materials you’re working with, as this will guide your repair approach. For wooden trim, check for rot or soft spots. If you find any, use a chisel to remove the damaged area and fill it with epoxy resin or wood filler. Once it’s dry, sand it smooth and paint or stain to match.
In cases of paint damage, you can simply sand the affected area and repaint. If you’re dealing with vinyl trim, small cracks can be repaired with a vinyl patch kit. For more extensive damage, you might need to replace the entire piece.
For metal trim, rust can often be treated with rust-inhibiting primer and paint. Always clean the damaged area before starting your repairs.
Seasonal Maintenance Checklist
Seasonal maintenance keeps your window trim looking its best and extends its lifespan. By performing regular seasonal inspections, you can spot issues early and protect your investment against weather changes.
Here’s a quick checklist to help you stay on top of your window trim care:
- Inspect for Damage: Check for cracks, chips, or peeling paint. Address these issues promptly to prevent moisture infiltration.
- Clean Regularly: Remove dirt and debris to keep your trim looking sharp. Use a gentle cleanser and a soft cloth to avoid scratches.
- Seal and Paint: Depending on the material of your trim, you might need to reapply sealant or paint. This step protects against the elements and enhances appearance.
- Check Caulking: Inspect the caulking around your windows. If you find gaps or wear, remove old caulk and apply a fresh bead to guarantee a tight seal.
Leave a Reply