Table of Contents
If you’re looking to take on DIY window replacement, start by preparing the installation area and measuring existing windows for a custom fit. Next, remove the old components carefully, ensuring you don’t damage the surrounding frame. Then, prepare the frame by scraping, patching, and sanding as needed. Insulate and seal the opening using backer rod and caulk, followed by low-expansion foam for efficiency. Once that’s done, install the new window, making sure it’s level and secure. Finish with a thorough inspection for any gaps and clean up the work area. The next steps will guide you through ensuring everything’s just right.
If you’re unsure if you should be replacing your own windows, check out our article on the pros and cons of DIY window replacement.
Key Takeaways
- Confirm installation details and prepare the work area by removing valuables and ensuring safety for pets and children.
- Measure existing windows accurately, noting the smallest width and height for a custom fit.
- Remove old window components carefully to avoid damaging the surrounding frame.
- Insulate and seal the frame with caulk and foam for energy efficiency before installing the new window.
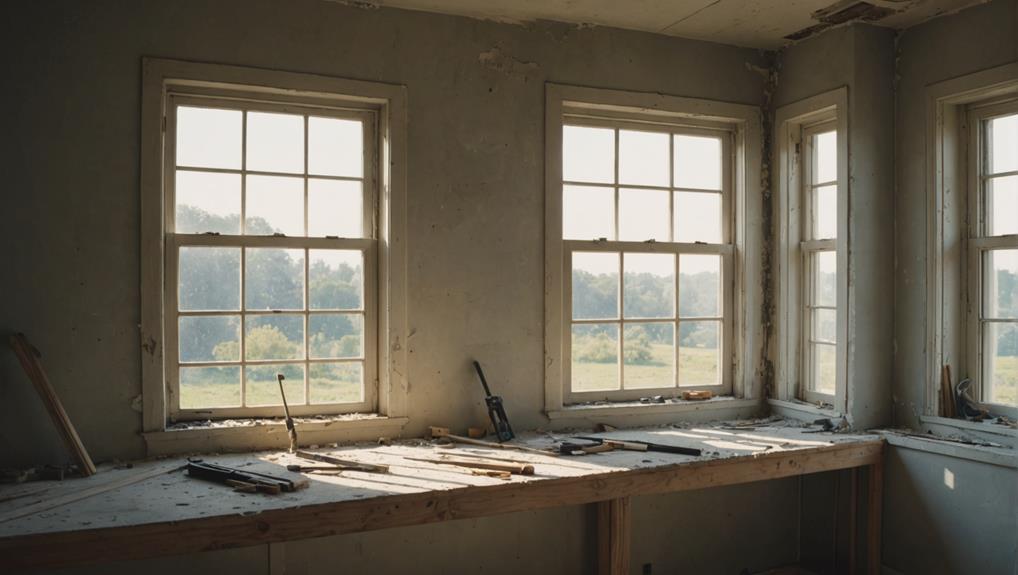
Preparation for Installation
Before installation day, it’s vital to confirm the date and time with your salesperson to guarantee everything runs smoothly. This step ascertains you’re prepared and can address any last-minute concerns. Proper preparation for installation will make a significant difference in the process.
If you want a video overview, check out this quick video by Lowe’s.
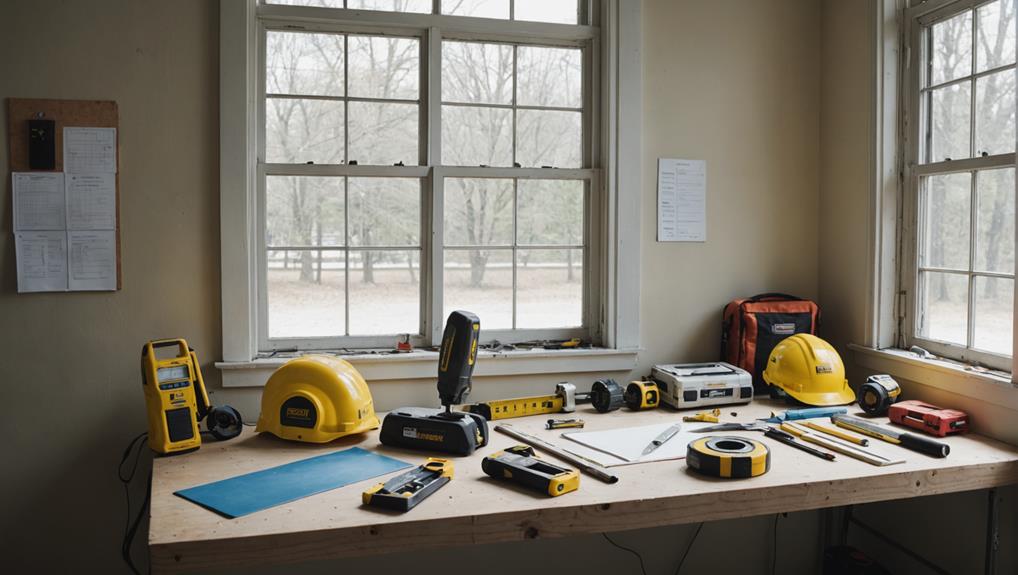
Begin by labeling any unique windows that need special attention. This is important for preventing mix-ups during the installation. Next, clear the work area of valuable items and secure them to avoid potential damage or loss. A tidy space allows the crew to work efficiently and safely.
Arrange for pets and children to be away from the work area, guaranteeing a safe environment for everyone involved. Your family’s safety is paramount during window removal and installation.
Additionally, protect landscaping by using drop cloths and dust barriers. This step helps minimize any damage to your flower beds and outdoor plants.
Measuring Existing Windows
Accurately measuring your existing windows is vital to confirm a perfect fit for your replacement units. Start by measuring the inside width of the window at the top, middle, and bottom. Record the smallest measurement, as this will guarantee accuracy in your replacement windows.
Next, measure the height from the sill to the head jamb in three different locations to find the correct height for your new windows.
Don’t forget to check for squareness by measuring the diagonals of the window opening; both measurements should be equal if the frame is square. If they aren’t, you might need to make adjustments during installation. Additionally, use a level to assess the slope of the sill, which is essential for proper drainage.
To account for a proper fit in custom window orders, subtract 1/2 inch from your narrowest width measurement and do the same for the height. This step guarantees that your replacement windows will slide into place without any issues.
Removing Old Window Components
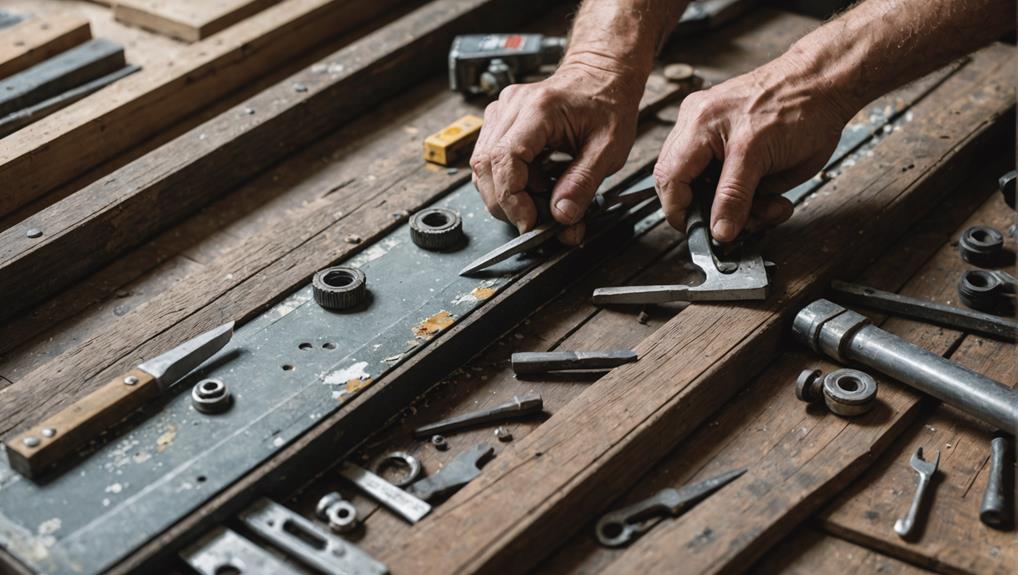
Start by carefully removing the operable sash from the window frame to make way for your new replacement. Use a flathead screwdriver or a pry bar to gently pry off or unscrew the interior wooden stops, taking care not to damage them.
Once the sash is detached, move on to removing the parting beads that separate the upper sash. Pivot the upper sash upward to detach it from the jamb liners.
Next, if you notice any vinyl or aluminum jamb liners, use a flat bar to remove these as well. This step exposes the remaining window components. If the old windows are still intact, make sure you also remove any remaining wooden stops to gain full access to the frame.
Throughout this process, be mindful of the surrounding frame to avoid any damage, as you’ll need it to be in good condition for the new window installation.
After you’ve cleared the area of all old components and debris, you’ll be ready for the next steps in your exterior work. With everything removed, you’re one step closer to a successful window replacement!
Preparing the Frame
To guarantee a successful installation, you’ll want to prepare the window frame by scraping off any loose paint and patching up any holes or cracks.
Start by removing any blistered paint to create a clean surface for the new window installation. Once the paint is removed, it’s crucial to patch any holes with exterior-grade wood putty, enhancing the frame’s integrity and guaranteeing it can support the new window.
Next, sand the jambs to create a smooth surface, which will help facilitate a proper fit for the new window unit. This step also helps in achieving a better seal against air and moisture.
After sanding, clean the frame thoroughly to remove any debris, dust, and leftover materials, as these can interfere with installation.
Once the frame is clean and smooth, it’s time to prime and paint the prepared surfaces. This not only protects the wood but also guarantees a cohesive look with your new window.
Taking these steps in preparing the frame will set you up for a successful window installation, leading to a durable and aesthetically pleasing result.
Insulating and Sealing
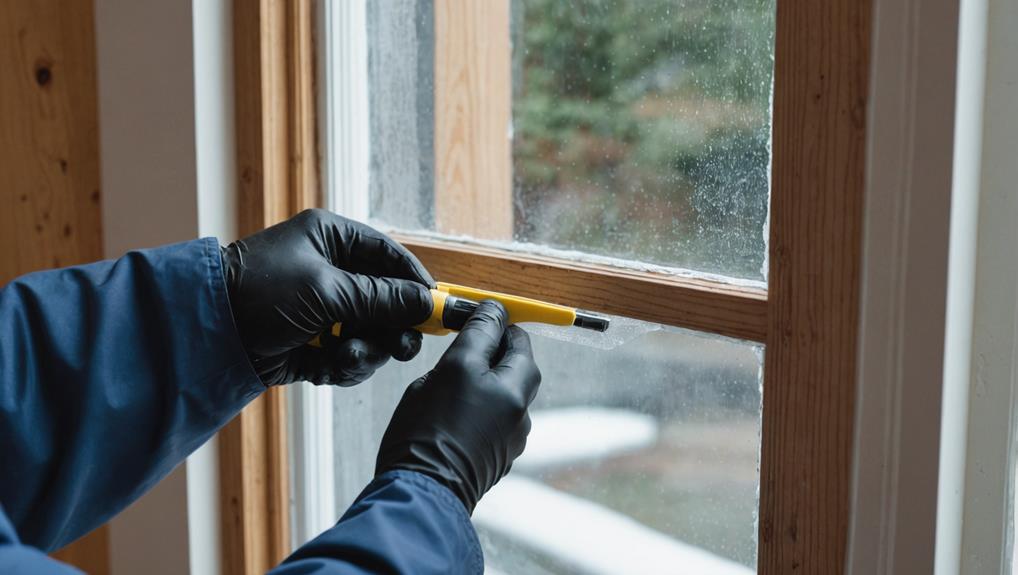
After you’ve prepared the frame, focusing on insulating and sealing is key to guaranteeing your new window performs efficiently and effectively. Proper insulation and sealing techniques can considerably reduce drafts and improve energy efficiency, making your home comfortable year-round.
Here’s a quick guide to help you through the process:
| Step | Description |
|---|---|
| 1. Insert Backer Rod | Place a backer rod in the gap to create a groove of 1/8 to 1/4 inch. |
| 2. Apply Caulk | Use high-quality exterior caulk over the backer rod for a tight seal. |
| 3. Fill Gaps | Inspect for any additional gaps and fill them as needed. |
| 4. Use Polyurethane Foam | Apply low-expansion polyurethane foam for effective insulation. |
| 5. Pack Insulation Snugly | Guarantee insulation is snugly packed to avoid excessive compression. |
Installing the New Window
Position the new window insert on the sill, then tip it up into the opening while guaranteeing it aligns perfectly with the frame’s sides.
Once it’s in place, press the window tightly against the exterior casings or blind stops and secure it loosely with a 2-inch screw to keep it stable during adjustments.
Next, you need to check for level and square. Measure the diagonals to confirm the window is square, making any necessary adjustments with shims behind the screws to prevent bowing.
Here are some key steps to remember while installing the window:
- Guarantee the window is flush with the exterior wall.
- Tighten all screws evenly, avoiding over-tightening to prevent damage.
Once you’ve confirmed everything is aligned correctly, you can proceed with the final touches.
Properly installing the window is vital in the window replacement process, as it sets the stage for effective caulking and sealing, which will ultimately enhance the window’s performance and longevity.
Final Inspection and Cleanup

A thorough final inspection guarantees your newly installed window functions properly and is free from any installation issues.
Start by checking the window operation; verify it opens, closes, and locks smoothly. This step is essential for maximizing security and convenience.
Next, inspect the caulking and insulation around the window. Look for any gaps that could lead to air leaks, as these can affect energy efficiency.
During your final inspection, document any concerns you find. This record will be helpful for future reference or repairs.
After you’ve completed your checks, it’s time for cleanup. Remove all debris, old materials, and tools from the work area to keep it safe and tidy.
Don’t forget to dispose of the old windows and packaging responsibly. Make certain to follow local regulations regarding disposal to guarantee compliance and show environmental responsibility.
Leave a Reply