Table of Contents
To achieve perfectly painted window trim every time, start by selecting high-quality paint and finishes that enhance your home’s style. Properly prepare the surface by cleaning and sanding it until it feels smooth.
Choose the right brushes for your project: use flat brushes for larger areas and angled brushes for corners. Applying a suitable primer is essential, as it helps ensure better adhesion. Use even strokes to prevent drips and lap marks.
Make sure to allow adequate drying time between coats, and maintain a consistent environment throughout the painting process. Finally, touch up any imperfections to achieve a flawless finish. You’ll discover even more tips and tricks as you continue to explore further.
Choosing the Right Paint
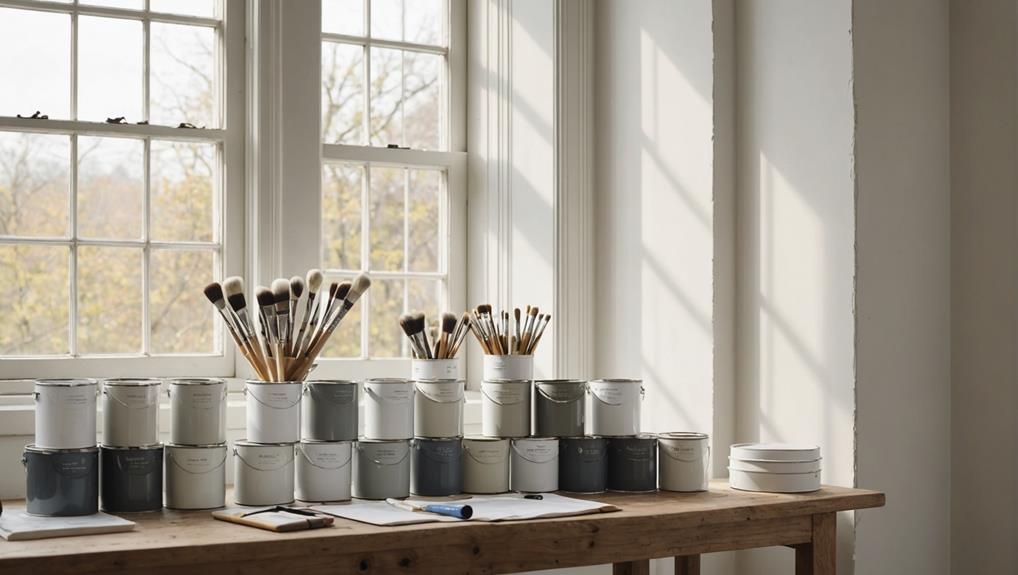
When choosing the right paint for your window trim, you should consider factors like durability, finish, and color that best complement your home’s style.
First, think about paint finishes. Satin or semi-gloss finishes are popular choices for window trim because they offer a nice balance between sheen and durability. These finishes resist moisture and are easy to clean, making them perfect for areas exposed to the elements.
Next, focus on color selection. The color you choose can dramatically affect your home’s overall look. If you want a classic feel, opt for whites, creams, or soft pastels. For a bold statement, consider darker shades like navy or charcoal. You can also match or contrast your trim color with your window frames or walls, creating a cohesive look.
Don’t forget to test a few samples on your trim. This way, you can see how the colors look in different lighting conditions before making a final decision.
Preparing the Surface
Proper surface preparation is essential for achieving a smooth, professional finish on your window trim. Before you start painting, you need to guarantee that your trim is clean and free of imperfections. Here are some steps to follow for effective preparation:
- Inspect the Trim: Check for any cracks, peeling paint, or rough spots. Address these issues before moving forward.
- Surface Cleaning: Use a damp cloth or a mild detergent solution to clean the trim. This removes dust, dirt, and grease, guaranteeing better paint adhesion.
- Sanding Techniques: Once the trim is clean and dry, sand the surface lightly using fine-grit sandpaper. This helps to smooth out any rough areas and creates a better surface for the paint to stick to. Remember to wipe away any dust after sanding.
- Fill Imperfections: If you find any holes or cracks, use wood filler to repair them. Once it’s dry, sand it smooth to blend with the surrounding trim.
Selecting Quality Brushes
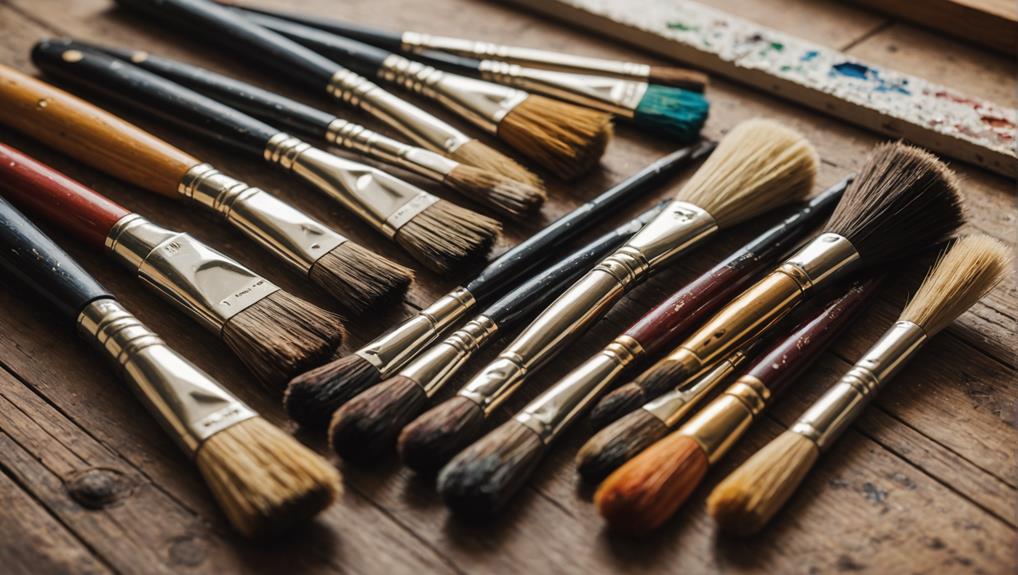
When it comes to selecting quality brushes, knowing the different types available can make a big difference in your painting results.
You’ll want to pay attention to bristle materials as they can affect how paint adheres and flows.
Choosing the right brush will guarantee your window trim looks flawless.
Brush Types Overview
Selecting the right brush can greatly influence the quality of your window trim painting, so it’s vital to understand the various types available. Each brush type has its own strengths, making it important to choose wisely for the best results.
Here’s a quick overview to help you decide:
- Flat Brushes: Ideal for broad surfaces and straight edges, they guarantee smooth, even coverage.
- Angled Brushes: Perfect for corners and detailed work, their shape allows for precision in cutting in along trim lines.
- Detail Brushes: Best for intricate designs, these brushes let you paint fine lines and details with ease.
- Foam Brushes: Great for quick applications and smooth finishes, especially with water-based paints.
Bristle Material Importance
Understanding bristle materials is essential for choosing brushes that deliver the best results when painting window trim. When selecting your brush, consider the different bristle types available, as they can greatly impact your painting experience.
Natural bristles, for example, are excellent for oil-based paints due to their ability to hold more paint and provide a smooth finish. However, if you’re using water-based paints, synthetic bristles are often a better choice, as they maintain their shape and stiffness.
Bristle durability is another important factor. High-quality brushes with strong bristles won’t shed during your project, ensuring a clean finish without annoying stray hairs marring your work. Look for brushes that boast both a good bristle type and exceptional durability, as this combination will save you time and effort.
Ultimately, investing in the right brush can make all the difference in achieving that perfectly painted window trim. So, take your time choosing a brush with the right bristle material that suits your specific needs, and enjoy the process!
With the right tools in hand, you’ll be well on your way to achieving a flawless finish.
Applying Primer Effectively
Applying primer correctly sets the foundation for a smooth, long-lasting paint finish on your window trim. Choosing the right primer type and application method is vital for achieving the best results. Here are four tips to help you apply primer effectively:
- Select the Right Primer Type: Use an oil-based primer for wood trims to prevent tannin bleed and a latex primer for easier cleanup and flexibility.
- Prepare the Surface: Make certain your trim is clean, dry, and free from dust and debris. Sand any rough spots to create a smooth surface that the primer can adhere to.
- Use the Correct Application Method: For small areas, a brush or roller works well. For larger surfaces, consider using a sprayer for an even application.
- Apply Thin Coats: Apply the primer in thin, even layers, allowing each coat to dry thoroughly before adding another. This prevents drips and promotes better adhesion for the paint.
Techniques for Even Coats
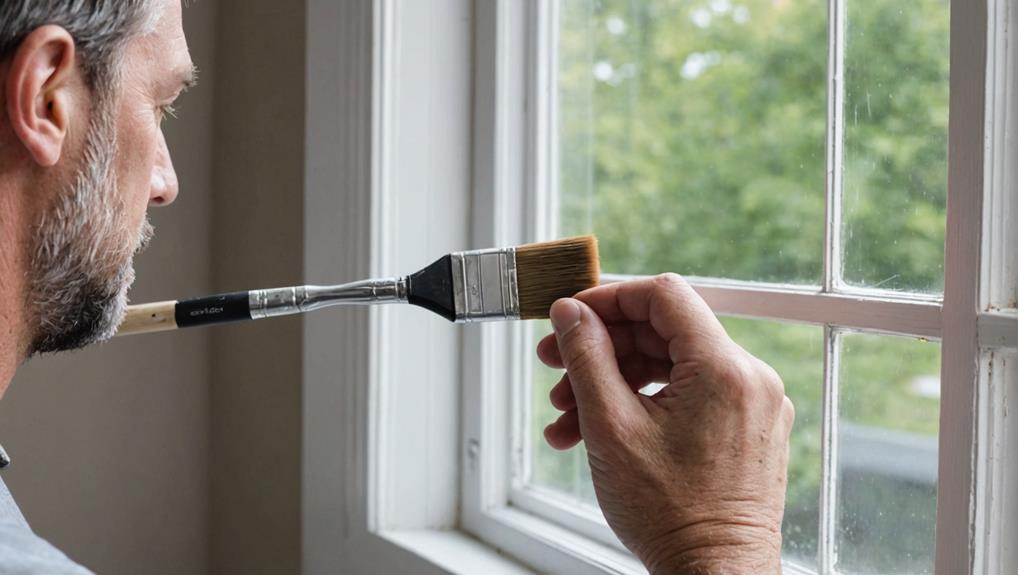
To achieve an even coat on your window trim, you’ll need to focus on a few key techniques.
Start by selecting the right brush, as it can make a big difference in your application.
Don’t forget to contemplate your painting technique and the importance of allowing adequate drying time between coats for the best results.
Proper Brush Selection
Choosing the right brush can make all the difference in achieving an even coat on your window trim. A well-selected brush guarantees smooth application and reduces the chances of streaks or uneven coverage.
Here are four key factors to take into account when selecting your brush:
- Bristle Type: Natural bristles work well with oil-based paints, while synthetic bristles are ideal for water-based paints. Choose based on your paint type for the best results.
- Brush Size: Use a smaller brush for detailed work or corners and a wider brush for larger flat surfaces. This helps you reach tight spots without making a mess.
- Quality Matters: Invest in a higher-quality brush. It’s more durable and provides a better finish, saving you time and effort in the long run.
- Proper Care and Storage: After you’re done painting, clean your brush thoroughly to maintain its shape and performance. Store it in a way that prevents bristles from getting crushed or bent, guaranteeing it’s ready for your next project.
Painting Technique Tips
Mastering the right painting techniques guarantees your window trim gets an even coat without streaks or drips. Start by using a high-quality brush or roller suited for the finish style you’ve chosen. For intricate trim, a fine-tipped brush will help you navigate corners and edges smoothly.
When applying paint, dip your brush about a third of the way into the paint, then tap off excess. This avoids drips while ensuring you have enough paint to work with. Begin at one end and use long, even strokes to spread the paint, maintaining a wet edge to prevent lap marks. If you’re going for bold color combinations, consider using a primer beforehand to enhance the final hue and texture.
Always remember to work in manageable sections, as this allows better control and a more uniform finish. If you’re layering colors or finishes, let each coat dry thoroughly before applying the next. This not only improves adhesion but also enhances the vibrancy of your color combinations.
Drying Time Importance
Drying time plays an essential role in achieving an even coat on your window trim, as rushing the process can lead to unsightly imperfections. To guarantee ideal results, consider the following techniques that take into account temperature considerations and the effects of humidity.
- Check the temperature: Aim for a temperature between 50°F and 85°F. Paint dries best within this range, so avoid extreme heat or cold.
- Mind the humidity: High humidity slows down drying time, leading to potential drips and unevenness. Ideally, keep humidity levels below 70% for the best results.
- Layer wisely: Apply thin coats of paint. Allow each layer to dry fully before adding the next. This not only aids in evenness but also prevents runs.
- Ventilate the area: Guarantee proper air circulation. Good airflow helps paint dry faster and evenly, minimizing the effects of humidity.
Drying and Curing Times
Understanding the drying and curing times of your paint is essential for achieving a flawless finish on your window trim.
The drying time is when the surface feels dry to the touch, but the paint hasn’t fully set. On the other hand, the curing process can take much longer, as it’s when the paint hardens completely and reaches its maximum durability.
Typically, you should wait about one to two hours for the surface to dry, but full curing may require several days to weeks, depending on the paint type.
Pay attention to humidity effects; high humidity can slow down both drying and curing times, while low humidity can speed them up.
To guarantee the best results, always check the manufacturer’s guidelines for specific drying and curing times.
If you paint your window trim on a particularly humid day, be prepared to wait longer before you can safely handle the trim or apply a second coat.
Remember, patience is key. Rushing the process can lead to unsightly blemishes or a less durable finish.
Touch-Ups and Final Checks
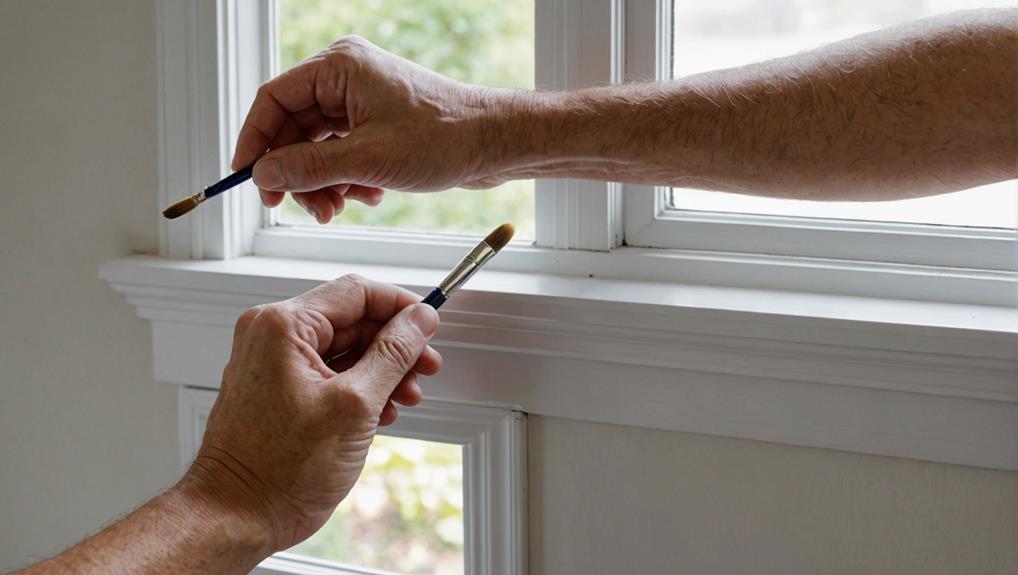
After the paint has cured, it’s time to inspect your window trim for any imperfections and make necessary touch-ups. This step is essential to achieving that flawless finish you desire.
Grab your tools and follow these touch-up techniques to guarantee everything looks perfect:
- Identify Flaws: Look closely for drips, uneven edges, or missed spots. Use a bright light to help spot imperfections.
- Prepare the Surface: Lightly sand any rough areas with fine-grit sandpaper. This helps the new paint adhere better.
- Choose the Right Paint: Use the same paint you initially applied. If you can’t find the exact color, consider mixing to match as closely as possible.
- Apply Touch-Ups: Use a small brush for precise application. Apply thin layers, allowing each coat to dry before adding more if necessary.
Once you’ve completed your touch-ups, conduct a final inspection. Step back and evaluate the entire trim to guarantee consistency in color and finish.
Don’t rush this part; a thorough final check assures your window trim looks professionally done.
Maintaining Your Trim Finish
To keep your window trim looking fresh and vibrant, regular maintenance is key. Start by dusting the trim with a microfiber cloth to remove cobwebs and dirt. This simple step prevents grime from building up and keeps your paint looking crisp.
For more thorough trim maintenance, use a damp cloth with a mild soap solution. Gently wipe down the trim, focusing on any areas that show signs of wear or build-up. If you notice scuff marks or fingerprints, consider using a soft sponge and a non-abrasive cleaner to gently buff those spots away. Avoid harsh chemicals, as they can damage the finish.
In addition to cleaning techniques, inspect your trim regularly for any signs of peeling or chipping. If you catch these issues early, you can perform touch-ups before they worsen.
Lastly, remember to periodically check for moisture buildup or mold, especially in areas near windows. Addressing these concerns quickly will help maintain your trim’s beauty and longevity.

Leave a Reply